
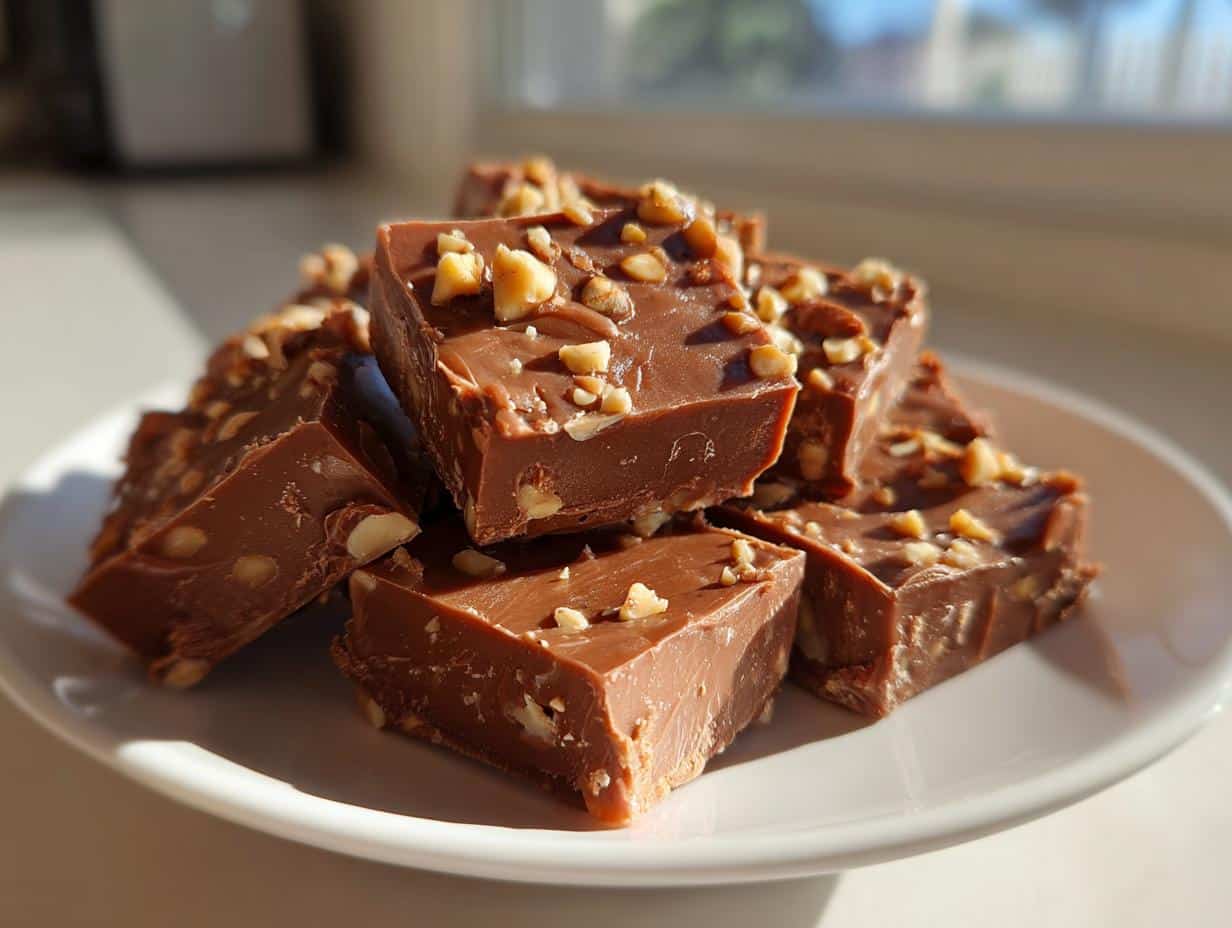
Oh, the joy of making fudge during the holidays! There’s just something magical about that rich chocolatey aroma wafting through the house. Every year, I gather with family in the kitchen to whip up a batch of my favorite holiday fudge easy recipe. It’s a tradition that brings us together, filled with laughter, stories, and a whole lot of chocolate. I can still remember the first time I made fudge with my grandmother, standing on a stool to reach the stovetop as she guided my hands. We’d carefully stir the melting chocolate, her gentle reminders echoing in my ears, “Don’t rush it, dear. Good things take time!” Trust me, this easy fudge recipe is perfect for anyone, no matter your cooking skills. It’s so simple that even the littlest ones can help, and the best part? You get to enjoy the delicious results together! So, grab your loved ones, and let’s create some sweet memories with this delightful fudge that’s bound to be a hit at your holiday gatherings!
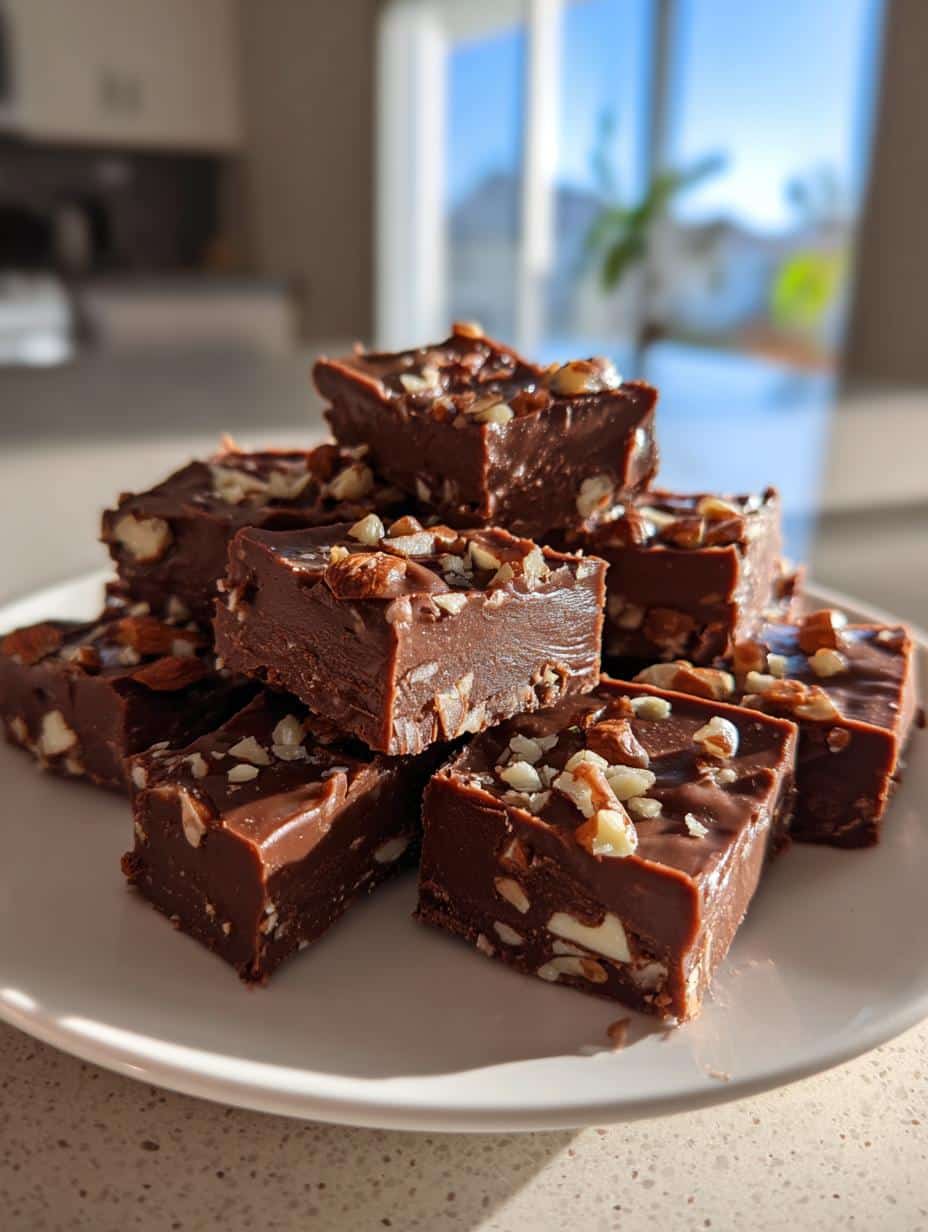
Ingredients List
Here’s what you’ll need to create this delightful holiday fudge. Trust me, you won’t need a million ingredients, just a few simple staples that pack a punch!
- 2 cups chocolate chips – I love using semi-sweet for that perfect balance of sweetness.
- 1 can sweetened condensed milk – This is the magic potion that makes the fudge creamy and dreamy.
- 1 teaspoon vanilla extract – A little splash of this elevates the flavor to a whole new level!
- 1 cup chopped nuts (optional) – I usually go for walnuts or pecans, but use whatever you like! They add a nice crunch.
Gather these ingredients, and you’ll be on your way to making the easiest and most delicious fudge that’ll have everyone coming back for seconds!
How to Prepare the Holiday Fudge Easy Recipe
Now that you’ve gathered your ingredients, let’s dive into the step-by-step process of making this easy holiday fudge! Don’t worry; I’ll guide you through each stage to ensure your fudge turns out perfect every time. Follow along, and I promise you’ll have a delicious batch ready to impress friends and family in no time!
Step-by-Step Instructions
Making fudge is all about combining the right ingredients and giving them the love they deserve. Here’s how to do it:
Preparing the Pan
First things first, you’ll want to line an 8-inch square pan with parchment paper. This step is crucial! It makes removing the fudge later so much easier. Just cut a piece of parchment paper to fit the bottom of the pan, then let it hang over the edges a bit. This will create handy little “handles” for lifting the fudge out once it’s set. A little tip: you can lightly grease the pan with butter or cooking spray to help the parchment stick down.
Melting the Ingredients
Next up, grab a medium saucepan and toss in those chocolate chips along with the sweetened condensed milk. Heat it over medium heat, stirring constantly. This part is super important—keep stirring until the mixture is completely melted and smooth. You don’t want the chocolate to burn, so make sure you’re attentive! It usually takes about 5 minutes. Oh, the smell of melted chocolate is heavenly!
Adding Flavor
Once your chocolatey goodness is all melty and smooth, it’s time to add the magic! Stir in the vanilla extract, and if you’re feeling nutty, toss in those chopped nuts. I love adding walnuts for a nice crunch, but feel free to skip them if you prefer a nut-free fudge. Mix everything together until it’s well combined—this ensures every bite is packed with delicious flavor!
Setting the Fudge
Now comes the hard part—waiting! Pour the fudge mixture into your prepared pan, spreading it out evenly. Then, pop it into the refrigerator for at least 2 hours to set. I know, I know, it’s tough to wait, but trust me, it’ll be worth it! The fudge needs this time to firm up properly before you cut it into squares. Once it’s set, you can lift it out using those parchment paper handles, slice it up, and get ready to enjoy!
Nutritional Information
Curious about what’s in this delicious holiday fudge? Here’s a quick look at the typical nutritional values per serving (that’s one square of fudge). Keep in mind that these are estimates and can vary based on the specific brands of ingredients you use:
- Calories: 150
- Sugar: 15g
- Fat: 8g
- Saturated Fat: 5g
- Unsaturated Fat: 3g
- Trans Fat: 0g
- Carbohydrates: 18g
- Fiber: 1g
- Protein: 2g
- Cholesterol: 5mg
- Sodium: 30mg
So, indulge a little, and enjoy every bite of this sweet treat during the holidays!
Tips for Success
Alright, let’s make sure your fudge turns out absolutely perfect! Here are my top tips that I’ve picked up over the years, so you can enjoy that rich, creamy goodness without a hitch:
- Stir Constantly: When melting the chocolate and sweetened condensed milk, keep stirring! This prevents the chocolate from burning and ensures a smooth, lump-free mixture. Trust me, burnt chocolate is a heartbreaker!
- Medium Heat is Key: Always use medium heat when melting. Too high, and you risk scorching the chocolate; too low, and it’ll take forever to melt. A gentle, steady heat is your best friend here.
- Mix Thoroughly: When adding the vanilla extract and nuts, make sure to mix everything together well. You want every piece of fudge to have that delicious flavor, so no one is left out!
- Chill it Right: Don’t rush the chilling process! Allowing the fudge to set for at least 2 hours in the refrigerator is crucial for that perfect texture. If you try to cut it too soon, it may fall apart.
- Use Quality Ingredients: The better the chocolate chips and sweetened condensed milk you use, the tastier your fudge will be. Don’t skimp on quality; your taste buds will thank you!
- Experiment with Mix-Ins: If you’re feeling adventurous, try adding different mix-ins like dried fruit, crushed candy canes, or even a pinch of sea salt on top for that sweet-and-salty combo. Get creative!
With these tips in your back pocket, you’ll be a fudge-making pro in no time! Enjoy the process and the sweet results!
Why You’ll Love This Recipe
This holiday fudge easy recipe is a game-changer for your festive celebrations! It’s not just about the rich flavor—there are so many reasons to fall in love with this delightful treat. Here’s why this recipe should be at the top of your holiday baking list:
- Quick Preparation: With only 10 minutes of prep time, you can whip up a batch of fudge in no time. Perfect for those busy holiday schedules!
- Minimal Ingredients: You only need a handful of simple ingredients that you probably already have in your pantry. No complicated shopping trips here!
- Delightful Flavor: The combination of chocolate, vanilla, and optional nuts creates a symphony of flavors that everyone will adore. It’s a crowd-pleaser for sure!
- Customizable: Feel free to get creative! You can mix in your favorite treats or adjust the sweetness to suit your taste.
- Perfect for Gifting: Cut the fudge into squares, package them in pretty boxes, and you’ve got a thoughtful homemade gift that friends and family will love.
- Great for All Ages: This recipe is so easy that kids can join in on the fun! Making fudge together creates sweet memories and tasty results.
With all these fantastic benefits, you can see why this holiday fudge recipe is truly a must-try. Get ready to bring joy to your kitchen and your taste buds!
Storage & Reheating Instructions
Now that you’ve made this delicious holiday fudge, let’s talk about how to store it properly to keep that rich, chocolatey goodness intact! First, make sure the fudge is completely cooled and set. Once it’s ready, cut it into squares and store them in an airtight container. This will help keep them fresh and prevent any unwanted odors from seeping in. I recommend separating layers of fudge with parchment paper to keep them from sticking together. You can store your fudge at room temperature for up to a week, but trust me, it’ll likely disappear long before then!
If you want to save some for later (and I know you will), you can freeze it! Just place the cut squares in a single layer on a baking sheet and pop them in the freezer for about an hour. Once they’re frozen solid, transfer them to an airtight container or a resealable freezer bag. Make sure to label it with the date so you know when you made it. Frozen fudge can last for up to 3 months, but it’s so tasty, it’s hard to resist for that long!
When you’re ready to enjoy your frozen fudge, simply take it out of the freezer and let it sit at room temperature for about 10-15 minutes. This allows it to soften slightly for that perfect melt-in-your-mouth experience. If you’re in a hurry, you can also microwave it for about 5-10 seconds—just be careful not to overheat it! Once thawed, it’s ready to serve, share, and savor all over again!
FAQ Section
Got questions about this holiday fudge easy recipe? Don’t worry, I’ve got you covered! Here are some common queries that might pop up while making this delicious treat:
Can I use different types of chocolate chips?
Absolutely! While I love using semi-sweet chocolate chips for that classic flavor, you can easily swap them for milk chocolate, dark chocolate, or even white chocolate if you’re feeling adventurous. Just keep in mind that this will change the overall sweetness of your fudge.
What can I substitute for sweetened condensed milk?
If you’re looking for a dairy-free option, you can try using coconut milk or a homemade version using coconut cream and sugar. Just remember, the texture and flavor might vary a bit, but it’ll still be delicious!
Can I add flavor variations to the fudge?
You bet! Feel free to mix in some peppermint extract for a festive twist or even swirl in some peanut butter for a delightful combination. The sky’s the limit when it comes to flavoring your fudge!
How do I make this fudge without nuts?
If you prefer a nut-free fudge, simply leave out the chopped nuts. The fudge will still be rich and delicious without them. You can even add in some mini marshmallows or sprinkles for a fun touch!
How do I store my fudge if I want to keep it fresh?
Store your fudge in an airtight container at room temperature for up to a week. If you want to keep it for longer, just freeze it! Follow my storage tips above for the best results.
Can I double the recipe?
Of course! If you want to make a larger batch, just double the ingredients. You might need to use a bigger pan, or you can make two separate batches. Just keep an eye on the setting time, as it might take a little longer!
Hopefully, this FAQ section clears up any doubts you have about making your holiday fudge. Happy cooking, and enjoy every delicious bite!
Serving Suggestions
Now that you’ve whipped up a delightful batch of holiday fudge, let’s talk about how to present it and what to serve alongside it to really impress your guests! Trust me, these suggestions will take your fudge from delicious to downright festive!
- Festive Platter: Arrange your fudge squares on a decorative platter. You can even sprinkle some holiday-themed sprinkles on top for a pop of color. It instantly elevates the presentation and makes it look like a special treat!
- Gift Boxes: Cut the fudge into squares and package them in cute little gift boxes or tins. Tie them with a ribbon for a thoughtful homemade gift that’s perfect for neighbors or friends. Everyone loves a sweet surprise!
- Serve with Coffee or Hot Cocoa: Pair your fudge with a warm cup of coffee or a steaming mug of hot cocoa. The rich chocolate flavors complement each other beautifully, making for an indulgent treat that’s hard to resist!
- Ice Cream Topping: Crumble some fudge over vanilla ice cream for a decadent dessert combo. The cold ice cream paired with the rich fudge is a match made in heaven. Wow, talk about a crowd-pleaser!
- Holiday Dessert Buffet: If you’re hosting a gathering, set up a dessert buffet with your fudge along with other treats like cookies, brownies, and holiday cakes. It creates a fun and festive atmosphere where everyone can indulge their sweet tooth.
- Chocolate-Covered Fudge: For an extra special touch, dip each square of fudge in melted chocolate and then let them set on parchment paper. This adds another layer of chocolatey goodness that your guests will love!
Whichever way you choose to serve it, your holiday fudge will surely steal the show and create sweet moments that everyone will remember. Enjoy sharing this delightful treat with your loved ones!
Print
Holiday Fudge Easy Recipe: 5 Steps to Sweet Joy
- Total Time: 2 hours 15 minutes
- Yield: 16 squares 1x
- Diet: Vegetarian
Description
A simple and delicious holiday fudge recipe.
Ingredients
- 2 cups chocolate chips
- 1 can sweetened condensed milk
- 1 teaspoon vanilla extract
- 1 cup chopped nuts (optional)
Instructions
- Line an 8-inch square pan with parchment paper.
- In a saucepan, combine chocolate chips and sweetened condensed milk over medium heat.
- Stir constantly until melted and smooth.
- Add vanilla extract and nuts, if using. Mix well.
- Pour the mixture into the prepared pan.
- Refrigerate for at least 2 hours until set.
- Cut into squares and serve.
Notes
- Store in an airtight container.
- Fudge can be frozen for up to 3 months.
- Prep Time: 10 minutes
- Cook Time: 5 minutes
- Category: Dessert
- Method: Stovetop
- Cuisine: American
Nutrition
- Serving Size: 1 square
- Calories: 150
- Sugar: 15g
- Sodium: 30mg
- Fat: 8g
- Saturated Fat: 5g
- Unsaturated Fat: 3g
- Trans Fat: 0g
- Carbohydrates: 18g
- Fiber: 1g
- Protein: 2g
- Cholesterol: 5mg