
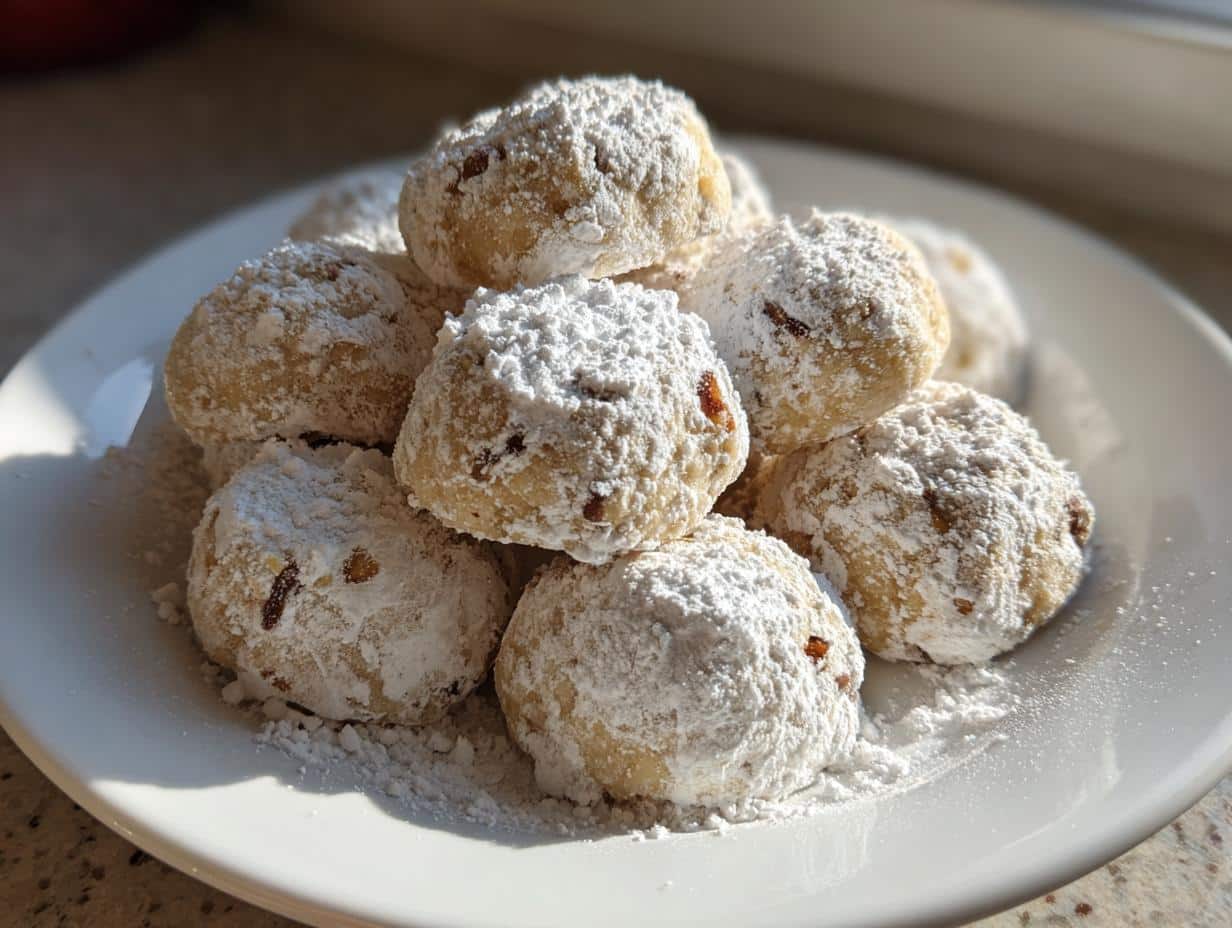
Oh, let me tell you about the magic of snowball cookies, also known as Mexican wedding cookies! These little treats are the epitome of buttery goodness and nutty delight, and they truly melt in your mouth. Imagine biting into a soft, crumbly cookie that practically dissolves on your tongue, surrounded by a sweet cloud of powdered sugar. It’s like a cozy hug for your taste buds!
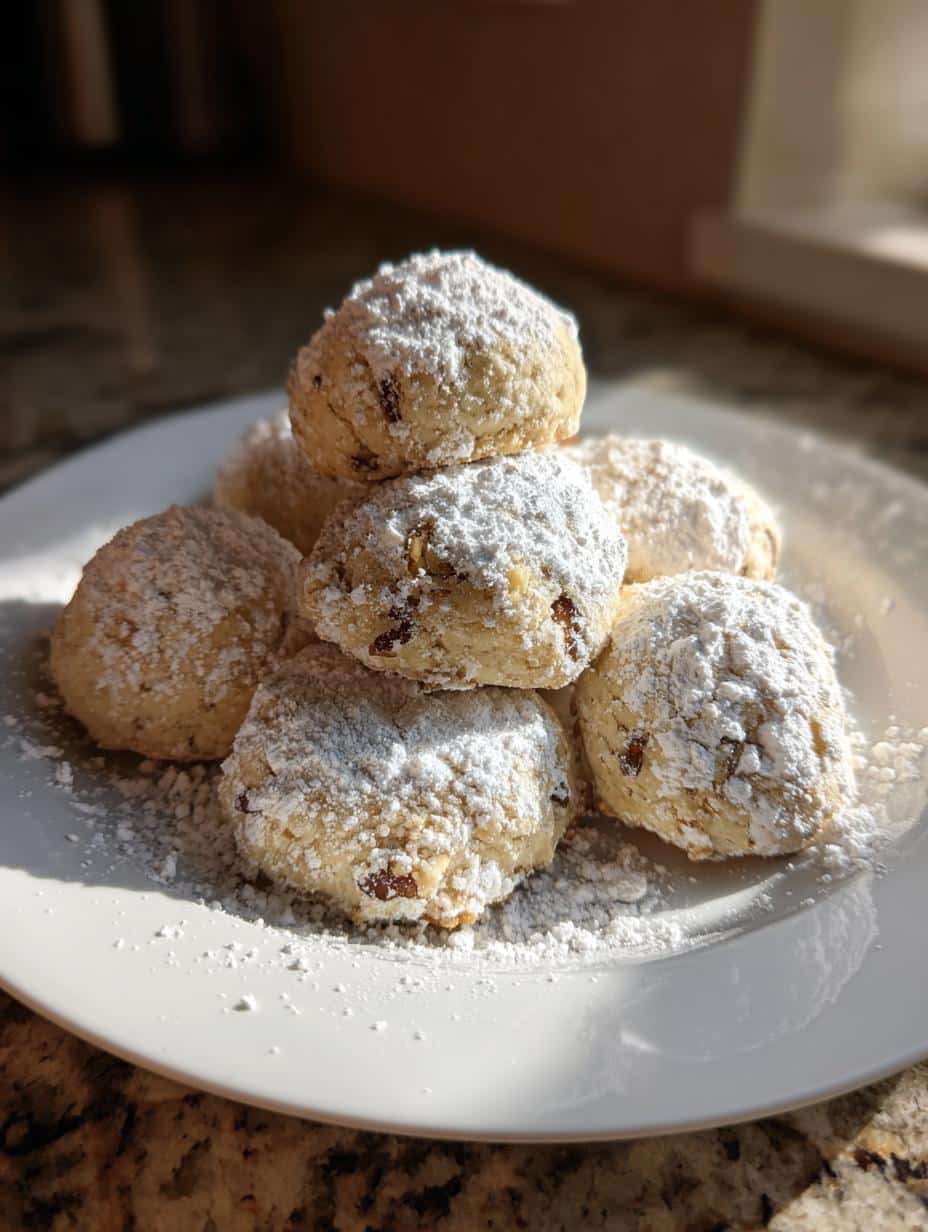
What I absolutely love about these cookies is how simple they are to whip up, yet they feel so special, making them perfect for any occasion—from holiday gatherings to just a cozy afternoon at home. The combination of finely chopped walnuts gives them that delightful crunch, balancing perfectly with the rich butter flavor. Trust me, once you get a whiff of those baking in the oven, you won’t be able to resist sneaking a few before they even hit the cooling rack!
These snowball cookies are not just a treat; they’re a celebration wrapped in a dusting of sweetness. So, gather your ingredients, and let’s dive into making these delightful little bites of joy!
Ingredients List
Here’s what you’ll need to create these delightful snowball cookies, or as some folks call them, Mexican wedding cookies. Gather these ingredients, and you’re halfway to cookie bliss!
- 1 cup unsalted butter, softened – Make sure it’s nice and creamy for that perfect texture!
- 1/2 cup powdered sugar – This adds sweetness and that signature dusting effect.
- 2 cups all-purpose flour – It’s the foundation of our cookie goodness.
- 1 cup finely chopped walnuts – These bring a lovely nutty crunch to each bite.
- 1 teaspoon vanilla extract – A splash of this magic makes everything better!
- 1/4 teaspoon salt – Just a pinch to enhance all those fantastic flavors.
- Additional powdered sugar for dusting – You can never have too much powdered sugar, right?
Now that you’ve got your ingredients lined up, you’re ready to bake these delicious little gems! Let’s move on to the preparation, shall we?
How to Prepare Snowball Cookies Mexican Wedding
Now, let’s get into the fun part—preparing your snowball cookies! It’s a straightforward process, and I promise you’ll be rewarded with delicious, melt-in-your-mouth treats. Follow these steps, and you’ll have a batch of cookies that will impress everyone!
Preheat the Oven
First things first: preheat your oven to 350°F (175°C). This step is super important because it ensures your cookies bake evenly and come out perfectly golden. While the oven warms up, you can get everything else ready!
Creaming Butter and Sugar
Next up, grab a mixing bowl and cream together your softened unsalted butter and powdered sugar. You want to beat them until the mixture becomes light and fluffy—think whipped honey! This process incorporates air into the dough, which is crucial for that tender texture we all love. It should take about 2-3 minutes with a hand mixer or a bit longer if you’re going old-school with a wooden spoon. Just keep mixing until it looks smooth and creamy!
Incorporating Flour and Nuts
Now, it’s time to slowly incorporate your all-purpose flour and salt into the butter mixture. I like to add the flour in three parts, mixing gently between each addition. This way, you’ll avoid a flour explosion and ensure everything combines nicely. Once that’s in, fold in those finely chopped walnuts. They’ll add a lovely crunch and flavor! Just be careful not to overmix; a few flour streaks are okay!
Shaping the Cookies
With your dough ready, it’s time to form the cookies! Take a small amount of dough (about a tablespoon), roll it into a ball, and place it on a baking sheet lined with parchment paper. Make sure to space them out because these little guys will spread a bit while baking. I like to use a small cookie scoop for uniformity and ease!
Baking Instructions
Pop your baking sheet into the preheated oven and let those cookies bake for about 10-12 minutes. Keep an eye on them! You’re looking for a light golden color on the bottoms and just a hint of firmness when you gently touch the tops. Remember, they’ll continue to set a bit as they cool!
Dusting with Powdered Sugar
Once your cookies are out of the oven, let them cool on the baking sheet for a few minutes. This step is key—if you roll them in powdered sugar too soon, it’ll just melt away! After they’ve cooled slightly, generously roll them in that extra powdered sugar. This gives them that classic snowy appearance and adds a delightful sweetness!
Tips for Success
Alright, before you dive into baking these snowball cookies, let me share some of my favorite tips to ensure they turn out perfectly every time. Trust me, these little nuggets of wisdom can make a world of difference!
Use Room Temperature Ingredients
Make sure your butter is really softened, like, super soft! It should be at room temperature to cream perfectly with the sugar. If it’s too cold, you won’t get that light and fluffy texture we’re aiming for. I usually take it out of the fridge about an hour before I start baking.
Don’t Overmix the Dough
This is a big one! Once you add in the flour, mix just until the ingredients are combined. Overmixing can lead to tough cookies, and we definitely want them to be tender and melt-in-your-mouth good. So, gentle folding is the way to go!
Chill the Dough if Needed
If your kitchen is warm or you’re finding the dough is too soft to handle, pop it in the fridge for about 30 minutes. This little chill time helps the cookies maintain their shape while baking, leading to those perfectly round snowball cookies we all love.
Experiment with Nuts
While I adore walnuts in these cookies, feel free to switch things up! Pecans or even almonds can bring a different flavor profile. Just make sure to chop them finely, so they blend seamlessly into the dough.
Cool Before Dusting
As I mentioned earlier, let the cookies cool for a few minutes before rolling them in powdered sugar. This step is crucial. If they’re too hot, the sugar will just dissolve and you won’t get that lovely snowy finish. Patience is key here!
Store in an Airtight Container
To keep your cookies fresh and delightful, store them in an airtight container once they’re fully cooled. They’ll last about a week, but I promise you they won’t last that long! You’ll find yourself sneaking a few every day!
With these tips in your back pocket, you’re all set to create the most delicious snowball cookies ever. Happy baking!
Nutritional Information
Let’s talk about what’s in these delightful snowball cookies! Here’s a quick look at the typical nutritional values per cookie. Keep in mind, these are estimates, but they’ll give you a good idea of what you’re enjoying with each buttery bite:
- Calories: 120
- Fat: 8g
- Saturated Fat: 4g
- Unsaturated Fat: 3g
- Trans Fat: 0g
- Cholesterol: 20mg
- Sodium: 50mg
- Carbohydrates: 12g
- Fiber: 1g
- Sugar: 6g
- Protein: 2g
These little cookies are a delightful treat, and while they’re indulgent, they’re also a perfect way to celebrate special moments or just brighten a regular day. Enjoy responsibly, and don’t be surprised if you end up going back for seconds (or thirds)!
FAQ Section
Got questions about snowball cookies, or as some folks call them, Mexican wedding cookies? Don’t worry, I’ve got you covered! Here are some common queries that come up, along with my best tips and tricks to make sure your cookie experience is as delightful as possible.
Can I substitute the walnuts in the recipe?
Absolutely! While I love the crunch and flavor that walnuts bring, you can easily swap them for pecans, almonds, or even hazelnuts if you prefer. Just be sure to chop them finely so they mix seamlessly into the dough. Each nut will give your cookies a unique twist!
How should I store leftover snowball cookies?
To keep your snowball cookies fresh and tasty, store them in an airtight container at room temperature. They’ll stay delicious for about a week. Just be warned, they might not last that long—trust me, they’re pretty addictive!
Can I make the dough ahead of time?
You bet! If you want to get a head start, you can make the dough and then chill it in the refrigerator for up to 2 days before baking. Just make sure to wrap it tightly in plastic wrap. When you’re ready to bake, let it sit out for a few minutes to soften a bit, then roll and bake as usual!
What if I don’t have powdered sugar for dusting?
If you find yourself out of powdered sugar, don’t panic! You can make your own by blending granulated sugar in a blender or food processor until it’s fine and powdery. It’ll work just as well for that lovely snowy finish. Alternatively, you could leave them un-dusted for a less sweet, more rustic treat!
Can I add flavors or spices to the dough?
For sure! If you want to jazz up your snowball cookies, consider adding a pinch of cinnamon or nutmeg to the dough. Just a sprinkle will enhance the flavor profile beautifully without overpowering that classic buttery taste.
Are these cookies gluten-free?
To make gluten-free snowball cookies, you can substitute the all-purpose flour with a gluten-free flour blend that measures cup-for-cup. Just make sure your nuts are also gluten-free, and you’ll have a cookie everyone can enjoy!
With these answers, I hope you’re feeling more ready to dive into making these delightful snowball cookies. If you have any other questions, feel free to reach out! Happy baking!
Why You’ll Love This Recipe
Oh, where do I even begin? You’re going to fall head over heels for these snowball cookies, or as many lovingly call them, Mexican wedding cookies! Here’s why you absolutely need to try making them:
- Effortless Preparation: Seriously, these cookies come together in a flash! With just a few simple steps, you’ll have a batch of delightful treats ready to enjoy. Perfect for when you need something sweet but don’t want to spend all day in the kitchen.
- Buttery and Nutty Bliss: The combination of rich butter and finely chopped walnuts creates an irresistible flavor that’s both comforting and indulgent. Every bite is a little piece of heaven!
- Perfect for Any Occasion: Whether it’s a holiday celebration, a casual get-together, or just a cozy night in, these cookies fit right in. They’re elegant enough for guests but simple enough to whip up on a whim.
- Customizable: Want to switch things up? You can easily substitute the walnuts for your favorite nuts or add a dash of cinnamon for that extra cozy vibe. The possibilities are endless!
- Great for Sharing: These cookies are the perfect gift! Pack them up in a cute box, and you’ve got a heartfelt present that’s sure to delight friends and family.
- Classic Comfort: There’s something about these snowball cookies that just feels like home. They evoke sweet memories of gatherings and celebrations, making them a nostalgic treat everyone will love.
So trust me when I say, you’ll want to add these snowball cookies to your baking repertoire. They’re not just delicious—they’re a warm hug wrapped in powdered sugar! What’s not to love?
Storage & Reheating Instructions
Once you’ve baked these delightful snowball cookies, you’ll want to keep them fresh and delicious for as long as possible! Here’s how to store your cookies and even some tips for reheating, if you find any leftovers (which is highly unlikely, but just in case!).
Storing Your Cookies
To keep your snowball cookies at their best, let them cool completely on a wire rack. After they’re cool, grab an airtight container and layer the cookies carefully inside. I like to place a piece of wax paper between layers to prevent them from sticking together. This method keeps them fresh and maintains that delightful texture!
Stored this way, your cookies will last for about a week at room temperature. If you want to keep them even longer, you can pop them in the freezer! Just make sure to place them in a freezer-safe container or a resealable bag, and they should stay good for up to three months. When you’re ready to enjoy, just let them thaw at room temperature for a bit!
Reheating Tips
If you find yourself wanting to enjoy a warm cookie, here’s a quick and easy way to do it. Preheat your oven to 300°F (150°C) and place the cookies on a baking sheet lined with parchment paper. Heat them for about 5-7 minutes, just until they’re warmed through. This method helps maintain that delightful texture without drying them out!
Alternatively, if you’re in a hurry, you can pop one in the microwave for about 10-15 seconds. Just be careful not to overdo it, or you might end up with a cookie that’s too soft or even a bit gummy.
With these storage and reheating tips, you can enjoy your snowball cookies for days on end (if they last that long!). Happy snacking!
Follow us on Facebook and Pinterest for more delicious recipes!
Print
Snowball Cookies Mexican Wedding: 7 Steps to Sweet Bliss
- Total Time: 27 minutes
- Yield: 24 cookies 1x
- Diet: Vegetarian
Description
These snowball cookies, also known as Mexican wedding cookies, are buttery, nutty treats rolled in powdered sugar.
Ingredients
- 1 cup unsalted butter, softened
- 1/2 cup powdered sugar
- 2 cups all-purpose flour
- 1 cup finely chopped walnuts
- 1 teaspoon vanilla extract
- 1/4 teaspoon salt
- Additional powdered sugar for dusting
Instructions
- Preheat your oven to 350°F (175°C).
- In a bowl, cream the butter and powdered sugar together.
- Add the vanilla extract and mix well.
- Slowly incorporate the flour and salt.
- Fold in the chopped walnuts.
- Form the dough into small balls and place them on a baking sheet.
- Bake for 10-12 minutes until lightly golden.
- Let them cool slightly, then roll in powdered sugar.
Notes
- Store cookies in an airtight container for up to a week.
- Can substitute walnuts with pecans if preferred.
- For extra flavor, add a pinch of cinnamon.
- Prep Time: 15 minutes
- Cook Time: 12 minutes
- Category: Dessert
- Method: Baking
- Cuisine: Mexican
Nutrition
- Serving Size: 1 cookie
- Calories: 120
- Sugar: 6g
- Sodium: 50mg
- Fat: 8g
- Saturated Fat: 4g
- Unsaturated Fat: 3g
- Trans Fat: 0g
- Carbohydrates: 12g
- Fiber: 1g
- Protein: 2g
- Cholesterol: 20mg