
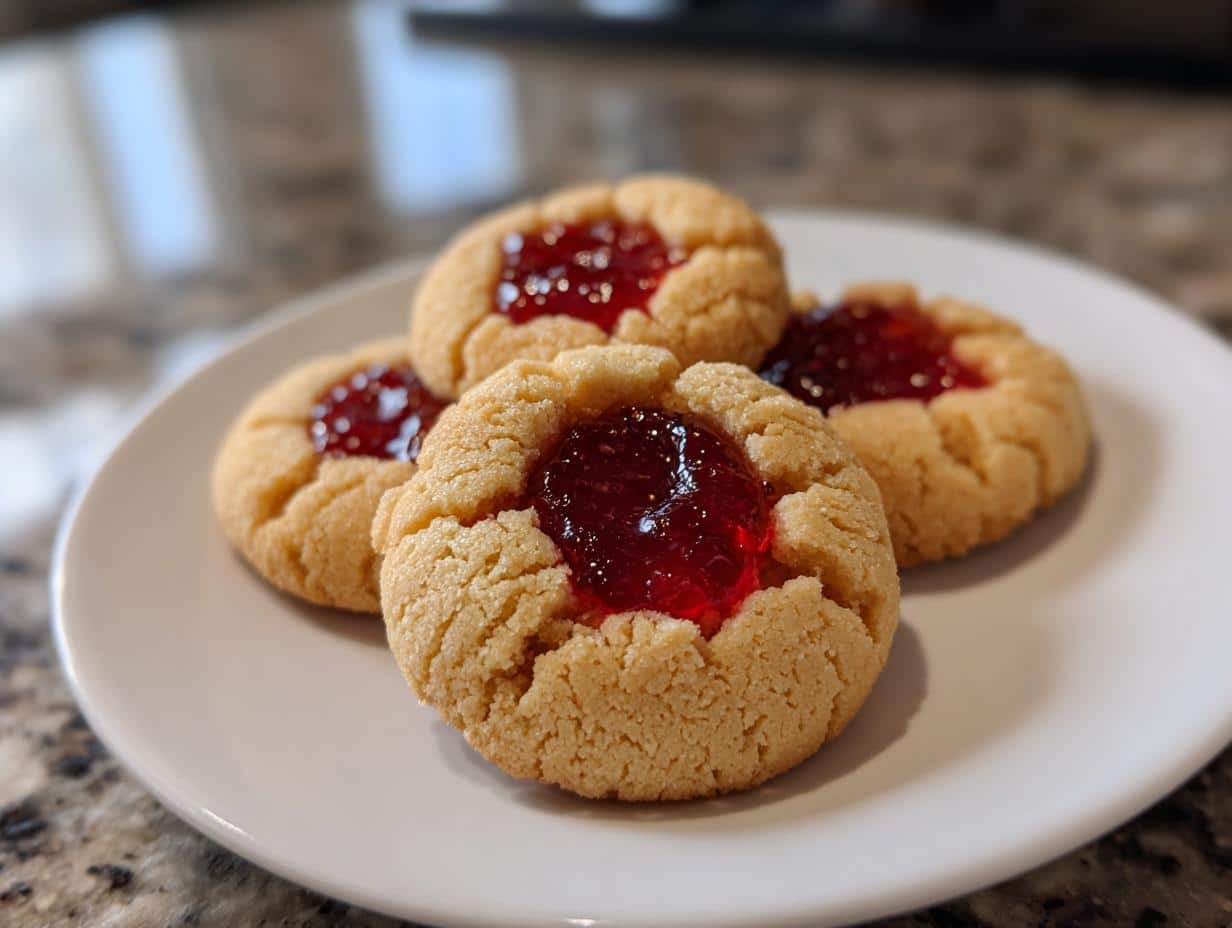
Ah, the sweet aroma of Christmas baking wafting through the house! There’s something truly magical about this time of year, especially when it comes to traditions that bring family and friends together. One of my absolute favorites is making Christmas thumbprint cookies jam. These delightful little treats are like tiny gifts of joy, bursting with flavor and a splash of nostalgia. I remember the first time I attempted these cookies with my grandmother. She’d roll out the dough while sharing stories of her own holiday baking adventures, and I’d help by making those perfect little thumbprints. It felt like the spirit of Christmas was right there in our kitchen, connecting generations through laughter and love. The way the buttery cookie cradles the sweet jam is simply irresistible. Now, every holiday season, I whip up a batch (or three!) to share with my family, filling our home with those cherished scents and memories. Trust me, you’re going to want to get in on this delicious tradition!
Ingredients List
Gathering the right ingredients is key to making the best Christmas thumbprint cookies jam. Here’s what you’ll need:
- 2 cups all-purpose flour – This forms the base of our cookies, giving them that perfect tender texture.
- 1/2 cup sugar – A touch of sweetness to balance the buttery goodness.
- 1 cup unsalted butter, softened – Make sure it’s softened to room temperature for easy mixing; this is where the rich flavor comes from!
- 1 egg yolk – Just one yolk helps bind everything together while keeping the cookies light.
- 1 tsp vanilla extract – This little splash of flavor adds warmth and depth to your cookies.
- 1/2 tsp salt – Just a pinch enhances all the other flavors and balances the sweetness.
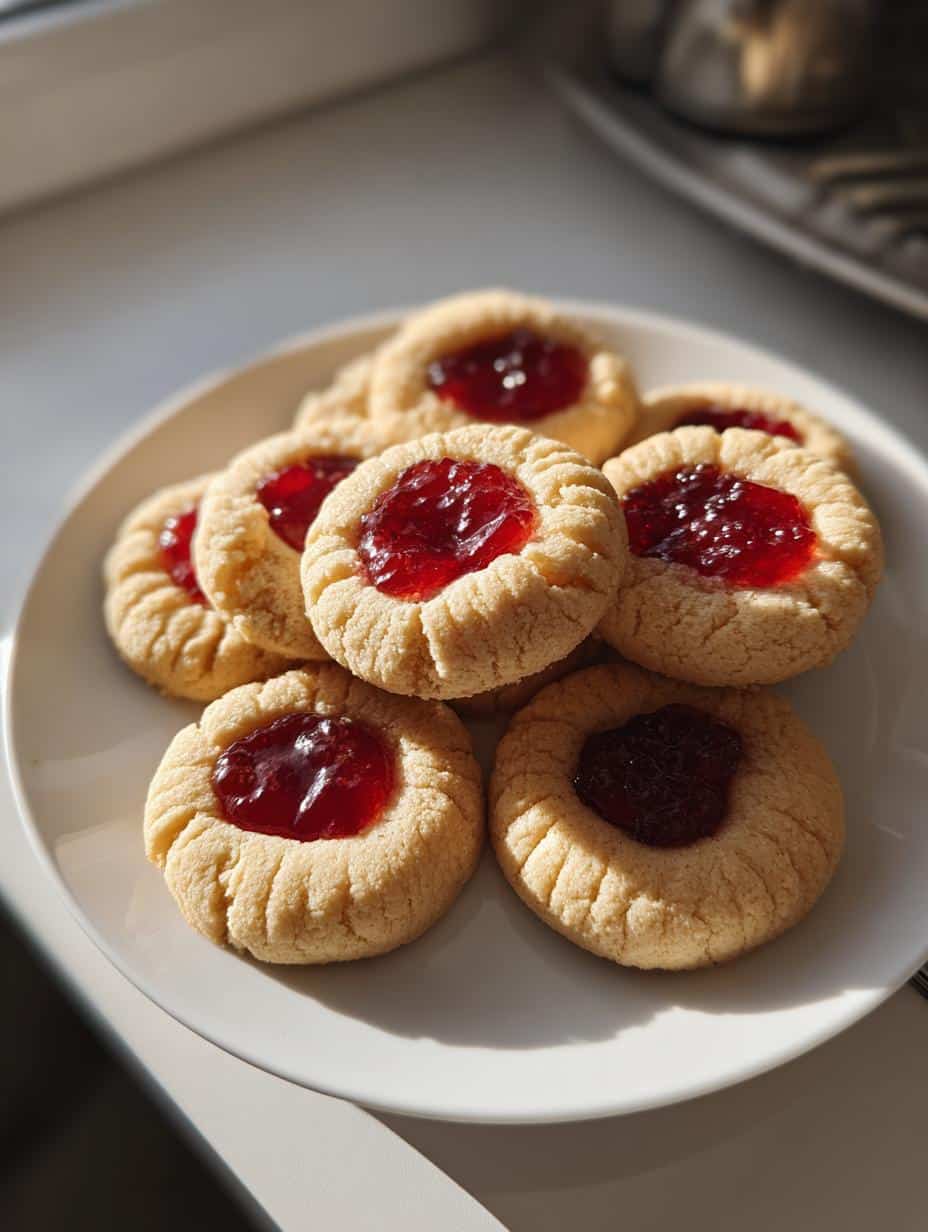
- 1/2 cup fruit jam of your choice – Go wild with your favorite jam! Raspberry, apricot, or strawberry all work wonderfully, adding a burst of flavor in the center.
With these ingredients in hand, you’re all set to create something truly special this holiday season!
How to Prepare Christmas Thumbprint Cookies Jam
Preheat the Oven
First things first, let’s get that oven warmed up! Preheat it to 350°F (175°C) before you dive into mixing your ingredients. Trust me, this step is crucial because a properly preheated oven ensures that your cookies bake evenly and achieve that perfect golden hue. While the oven heats up, you can focus on mixing the dough!
Mix the Dough
In a large mixing bowl, start by creaming together the unsalted butter and sugar until the mixture is light and fluffy. This usually takes about 2-3 minutes with a hand mixer or a sturdy wooden spoon if you’re feeling old-school. It’s a fun workout! Next, add in your egg yolk and vanilla extract, mixing until everything is well combined. This is where the magic begins to happen—the aroma will be heavenly!
Combine Dry Ingredients
Now, it’s time to bring in the dry elements. Gradually add the all-purpose flour and salt to your buttery mixture. I like to do this in two or three additions. Stir gently between each addition until the dough starts coming together. You want to avoid overmixing; just mix until you see no more flour streaks. Your dough should feel soft and slightly sticky, but don’t worry, that’s perfect!
Shape the Cookies
Using your hands, roll the dough into small balls, about 1 inch in diameter, and place them on a baking sheet lined with parchment paper. Give them a little space because they’ll spread a bit during baking. Now for the fun part—press your thumb gently into the center of each ball to create a lovely little indent. This is where those gorgeous dollops of jam will go!
Fill with Jam
Take your fruit jam of choice and fill the indents you just made. You can use a small spoon or even a tiny jar with a narrow opening for this. Don’t overfill—just a little dollop will do! You want to ensure the jam doesn’t spill over when it bakes, but fills the cookie enough to create that delightful burst of flavor with every bite.
Baking Time
Pop your baking sheet into the preheated oven and bake for 12-15 minutes, or until the edges of the cookies are lightly golden. Keep an eye on them! They’ll be soft when you take them out, but they’ll firm up as they cool. You’ll know they’re done when the aroma fills your kitchen and you can see those lovely golden edges.
Cooling and Serving
Once your cookies are done, let them cool on the baking sheet for a few minutes before transferring them to a wire rack. This cooling step is essential—allowing them to rest helps maintain that beautiful texture. As they cool, the buttery cookie will firm up, creating a perfect base for the jam. Trust me, the first bite of these warm cookies will transport you straight into holiday bliss!
Nutritional Information
Here’s a quick overview of the nutritional information for our delightful Christmas thumbprint cookies jam. Keep in mind that these values are estimates based on typical ingredients, so they might vary a bit depending on what you use.
- Serving Size: 1 cookie
- Calories: 120
- Total Fat: 8g
- Saturated Fat: 5g
- Unsaturated Fat: 2g
- Trans Fat: 0g
- Cholesterol: 20mg
- Sodium: 50mg
- Total Carbohydrates: 12g
- Dietary Fiber: 0g
- Sugars: 8g
- Protein: 1g
These cookies are a delightful treat that balances sweetness with buttery goodness, making them a perfect addition to your holiday celebrations!
Tips for Success
To really nail these Christmas thumbprint cookies jam, I’ve got a few pro tips that will take your baking to the next level. First off, if your dough feels a bit sticky, don’t fret! Just pop it in the fridge for about 30 minutes. Chilling the dough makes it easier to handle and helps those cookies hold their shape while baking.
Now, let’s talk jam! Feel free to get creative with flavors. While I love classic raspberry, I’ve had fantastic results with apricot, cherry, and even lemon curd for a zesty twist. Mixing and matching different jams can turn this recipe into a fun flavor adventure for your holiday cookie platter!
When it comes to storing your cookies, make sure they’re completely cool before you put them in an airtight container. This will keep them fresh and prevent them from getting soggy. If you’re planning to bake ahead of time, these cookies freeze beautifully! Just layer them between sheets of parchment paper in a freezer-safe container. They’ll be just as delicious when you thaw them out for your festive gatherings!
Follow these tips, and you’ll have a batch of thumbprint cookies that not only look great but taste absolutely divine!
Variations on Christmas Thumbprint Cookies Jam
One of the best parts about Christmas thumbprint cookies jam is how versatile they are! You can easily customize them to suit your taste or to surprise your family and friends. Here are a few fun variations to consider:
- Different Jam Flavors: Swap out the traditional fruit jam for something unique! Try using lemon curd for a bright, zesty bite, or go for a spiced apple butter to bring a cozy autumn twist. You can also experiment with mixed berry jams or even chocolate hazelnut spread for a decadent treat!
- Add Nuts: For a delightful crunch, consider adding finely chopped nuts to your cookie dough. Walnuts or pecans work beautifully with the buttery flavor of the cookies. You could also sprinkle some crushed nuts on top of the jam for an extra layer of texture.
- Spiced Up Dough: Want to bring a little warmth to your cookies? Add a teaspoon of cinnamon or nutmeg to the dough for a festive touch. This little addition can transform your cookies into a cozy winter treat.
- Chocolate Thumbprint Cookies: For chocolate lovers, simply replace a quarter cup of flour with unsweetened cocoa powder in the dough. This will give you rich chocolate cookies that pair perfectly with raspberry or cherry jam!
- Glaze Finish: After the cookies have cooled, drizzle a simple icing made from powdered sugar and milk over the top for a sweet finish. You can even add a hint of vanilla or almond extract to the icing for a touch of extra flavor.
These variations keep the spirit of the recipe alive while allowing you to create something new and exciting each time you bake. Enjoy experimenting!
Serving Suggestions
When it comes to enjoying your delicious Christmas thumbprint cookies jam, the right accompaniments can elevate the experience even more! Here are a few ideas that pair perfectly:
- Hot Coffee or Tea: A warm cup of coffee or spiced tea makes the perfect companion to these cookies. The rich flavors of the brew beautifully complement the buttery sweetness of the cookies.
- Cold Milk: You can’t go wrong with a classic glass of cold milk! It’s a nostalgic pairing that balances the sweetness and enhances the jam’s fruity flavors.
- Festive Hot Chocolate: For a cozy treat, serve your cookies with a cup of rich hot chocolate topped with whipped cream. It’s the ultimate winter indulgence!
- Fruit Salad: For a lighter option, a fresh fruit salad adds a refreshing contrast to the cookies’ richness. Citrus fruits or berries work especially well!
- Cheese Plate: Get a little fancy with a cheese platter featuring soft cheeses like brie or goat cheese. The creamy textures and mild flavors can create a delightful balance with the cookies.
No matter how you choose to enjoy them, these Christmas thumbprint cookies jam are sure to be a hit!
FAQ Section
Q1. How should I store my Christmas thumbprint cookies jam?
To keep your cookies fresh, store them in an airtight container at room temperature. Make sure they’re completely cooled before you pack them away to avoid any sogginess. They’ll stay delightful for about a week, but trust me, they might not last that long!
Q2. Can I make the dough ahead of time?
Absolutely! You can prepare the dough a day in advance. Just wrap it tightly in plastic wrap and refrigerate it. When you’re ready to bake, let it sit at room temperature for about 10-15 minutes before rolling it into balls. This will make it easier to handle.
Q3. What can I use if I don’t have fruit jam?
No worries! If you don’t have fruit jam on hand, you can try using nut butter, chocolate spread, or even lemon curd for a fun twist. Just be mindful of the flavors—pick something that complements the buttery cookie base!
Q4. Can I freeze these cookies?
Yes, you can! These cookies freeze beautifully. Just layer them between sheets of parchment paper in a freezer-safe container. They’ll stay fresh for up to three months. When you’re ready to enjoy them, thaw them at room temperature, and they’ll taste just as good as the day you made them.
Q5. How do I prevent the cookies from spreading too much while baking?
To help your cookies maintain their shape, ensure your butter is softened but not melted. If you find the dough is too soft, chilling it in the fridge for about 30 minutes before baking can also help. This way, they’ll hold their lovely thumbprint shape nicely!

Christmas Thumbprint Cookies Jam: 7 Sweet Traditions to Try
- Total Time: 30 minutes
- Yield: 24 cookies 1x
- Diet: Vegetarian
Description
Delicious Christmas thumbprint cookies filled with jam.
Ingredients
- 2 cups all-purpose flour
- 1/2 cup sugar
- 1 cup unsalted butter, softened
- 1 egg yolk
- 1 tsp vanilla extract
- 1/2 tsp salt
- 1/2 cup fruit jam of your choice
Instructions
- Preheat your oven to 350°F (175°C).
- In a bowl, mix butter and sugar until creamy.
- Add egg yolk and vanilla extract, mix well.
- Gradually add flour and salt, stir until combined.
- Roll dough into balls and place on a baking sheet.
- Press your thumb into the center of each ball to create an indent.
- Fill the indent with jam.
- Bake for 12-15 minutes until lightly golden.
- Let cool before serving.
Notes
- Use your favorite jam for variety.
- Store cookies in an airtight container.
- Chill dough for easier handling if sticky.
- Prep Time: 15 minutes
- Cook Time: 15 minutes
- Category: Dessert
- Method: Baking
- Cuisine: American
Nutrition
- Serving Size: 1 cookie
- Calories: 120
- Sugar: 8g
- Sodium: 50mg
- Fat: 8g
- Saturated Fat: 5g
- Unsaturated Fat: 2g
- Trans Fat: 0g
- Carbohydrates: 12g
- Fiber: 0g
- Protein: 1g
- Cholesterol: 20mg